How to Texture Metal in Photoshop?
Texturing metal surfaces in Photoshop is an essential skill for creating realistic materials in 3D modeling, product design, and even architectural visualization. Whether you're designing a shiny, polished metal or an aged, rusted surface, Photoshop offers a powerful set of tools to manipulate textures and achieve stunning results. The process involves blending textures, applying lighting effects, and adding imperfections to create metal surfaces that respond convincingly to light and shadow. This article will walk you through the steps needed to texture metal in Photoshop, from basic techniques to advanced methods, ensuring you can produce high-quality metal textures for any project.

Understanding Metal Textures
Before diving into the process of texturing, it’s important to understand the characteristics that make metal unique. Metal surfaces have distinct visual qualities, including reflective properties, roughness, and various surface imperfections. The type of metal you’re trying to texture—such as steel, gold, copper, or rusty iron—determines its color, reflectivity, and wear patterns. For instance, polished steel has a smooth, shiny surface that reflects light sharply, while weathered metal may show signs of oxidation, scratches, and pitting.
In Photoshop, creating a realistic metal texture involves not only replicating the color and shine of metal but also simulating the way light interacts with it. This can be achieved using layers, blending modes, filters, and custom brushes to create reflections, lighting highlights, and surface irregularities.

Creating a Basic Metal Texture
Let’s start with the basics of creating a metal texture. For a general, shiny metal like stainless steel or aluminum, we need to focus on smoothness, reflectivity, and light reflections.
1. Starting with a Base Color
Begin by creating a new document in Photoshop with your desired dimensions. Choose a base color for your metal surface. For a standard metal like steel, you might want to select a neutral gray or slightly bluish hue. You can do this by selecting the Paint Bucket Tool and filling the background layer with the color.
2. Adding Surface Highlights
To simulate reflections and highlights that are typical of metal surfaces, you can use a gradient tool. Select the Linear Gradient option, and choose a gradient that transitions from white to a light gray or your chosen base color. Apply the gradient along the metal surface to simulate how light hits the material. You can use the Opacity and Blending Mode options in the gradient settings to fine-tune the effect, making it more subtle.
3. Using Noise for Texture
Metal surfaces often have some level of noise or grain, especially if they aren’t perfectly smooth. To add texture, create a new layer and fill it with a noise filter. Go to Filter > Noise > Add Noise and choose an amount that gives your surface some fine grain. Set this layer’s blending mode to Overlay or Soft Light to integrate the noise into the base color without overpowering the texture.
4. Applying a Reflective Layer
For shiny metals, you’ll need to create reflections. Use a reflection brush or create a new layer and manually paint reflections of nearby objects or the environment. Use Gaussian Blur to soften these reflections and adjust the opacity for a more realistic look. The key is to keep the reflections subtle, as metal reflections aren’t usually as stark as those seen on water surfaces.
Adding Rust and Weathered Effects
Now that you’ve created a smooth, shiny metal surface, let’s move on to adding rust, scratches, and other imperfections that will make your metal texture more believable. Metals exposed to the elements tend to develop rust, dents, and scratches over time, and these imperfections add character and realism.
1. Creating Rust
To create rust, use a rich reddish-brown color and a custom rust texture. You can either use a rust texture from a library or create one yourself by painting irregular shapes with the Brush Tool. Use a rough, textured brush to give the rust patches an organic, uneven appearance. Apply the Gaussian Blur to soften the edges of the rust and set the layer blending mode to Multiply to make the rust blend naturally with the underlying metal texture.
2. Adding Scratches and Dents
Metal surfaces are often scratched and dented through wear and tear. To simulate scratches, use a scratch brush or create a new layer and manually paint thin, linear scratches using a light gray or white color. Set the layer mode to Overlay or Soft Light and reduce the opacity for subtlety. For dents, use the Dodge and Burn Tools to lighten and darken areas, creating the illusion of raised or recessed surfaces.
3. Creating Oxidation and Pitting
To simulate oxidation, which can give a metal surface a greenish hue (like copper), create a new layer and paint irregular patches using a greenish-blue color. Set this layer to Overlay or Color and reduce the opacity. For pitting, use the Brush Tool with a rough texture to paint small, irregular shapes across the metal surface. Use Gaussian Blur to soften the edges and make the pitting look more natural.
Refining the Metal Texture with Advanced Techniques
Once you’ve established the basic texture, it’s time to refine it further using advanced Photoshop techniques. These steps will help you add more depth and realism to your metal texture.
1. Using the “Curves” Adjustment Layer
To add contrast and further refine the reflectivity of the metal, you can use the Curves adjustment layer. By adjusting the curve, you can brighten the highlights and deepen the shadows, which helps to enhance the shiny and reflective qualities of the metal. Be careful not to overdo it, as this can make the texture look unnatural.
2. Creating a Bump Map for 3D Effects
To make your metal texture appear more realistic in a 3D environment, you can create a bump map. This map simulates small variations in the surface of the metal without adding actual geometry. To create a bump map in Photoshop, convert your texture to grayscale by selecting Image > Adjustments > Desaturate. Then, increase the contrast using the Levels adjustment. Save this as a separate file to be used as a bump map in your 3D software.
3. Adding Reflection and Environment Mapping
For highly reflective metals like chrome, you may want to add environment mapping or simulate reflections of surrounding objects. This can be done in Photoshop by creating a new layer and painting a blurred reflection of nearby items or structures. Alternatively, you can use a pre-made environment map, adjusting the opacity and blending mode to ensure the reflections blend seamlessly with the underlying texture.
Texturing metal in Photoshop is a process that requires attention to detail and a good understanding of how light interacts with surfaces. By combining basic color manipulation, noise generation, and advanced techniques such as rust and oxidation effects, you can create metal textures that look realistic and convincing. Whether you're working on a polished steel surface or a weathered, rusted iron piece, Photoshop offers the tools you need to bring your metal textures to life. To further enhance your workflow, consider exploring high-quality 3D models and textures from Relebook, where you can find a variety of assets to complement your creative projects.
FAQ
How can I make my metal texture look more realistic in Photoshop?
To make your metal texture more realistic, focus on adding subtle imperfections like scratches, dents, and rust. Use layers and blending modes to integrate these details naturally with the base metal surface. Also, work with lighting effects and reflections to mimic how light interacts with metal.
Can I create a metal texture from scratch without using a reference image?
Yes, you can create a metal texture from scratch using Photoshop's tools. Start with a solid base color and then build up surface details using noise, brushes, and filters. Adding realistic imperfections like rust and scratches will make the texture more believable.
How do I make a brushed metal texture in Photoshop?
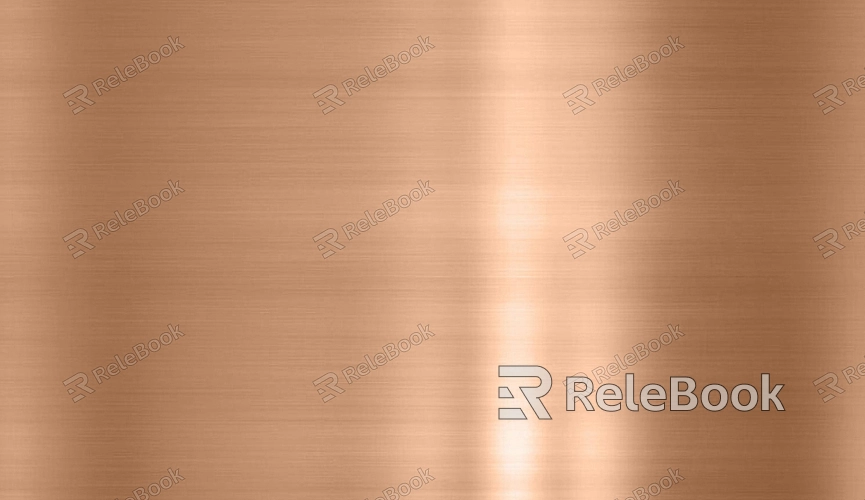
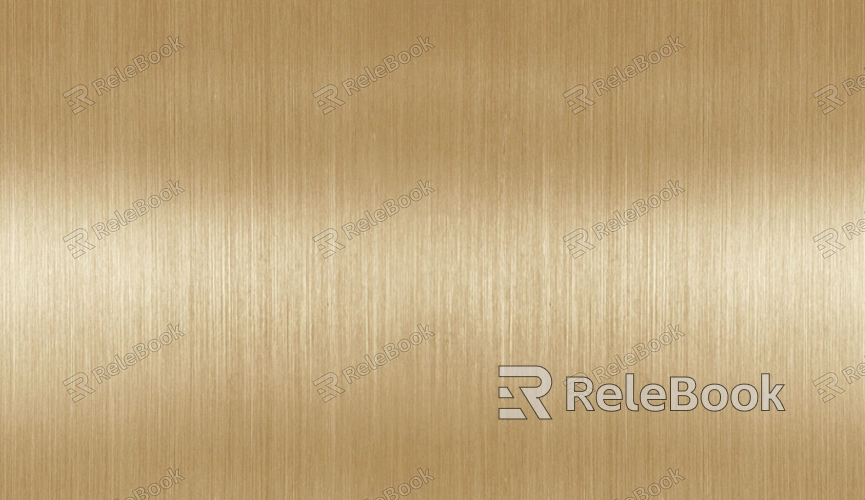
To create a brushed metal texture, use a combination of gradients and noise. Start by creating a gradient with light and dark shades, then apply a noise filter to give the texture a subtle grain. Use the Motion Blur effect to create the brushed lines typical of this kind of surface.
Can I use Photoshop to create textures for 3D models?
Yes, Photoshop is a great tool for creating textures for 3D models. You can create and edit textures and then export them for use in 3D software. Be sure to work with proper UV mapping and texture resolution to ensure your metal textures appear accurately on your 3D model.

